AC Not Cooling: A Safe Troubleshooting Guide
These steps are the ones a homeowner can safely perform. They rule out the simple causes, gather the information a provider will ask for, and stop well short of anything that requires tools, training or an open panel.
Participating provider availability varies by location, demand and technician capacity.
Step 1: The thermostat
Confirm the display is on and replace the batteries if it takes them. Set the mode to COOL and the fan to AUTO, then set the temperature several degrees below the current room reading. Cancel any hold, vacation or schedule that might be overriding your change. Note whether any code, alert or symbol is displayed.
Also check what the thermostat is exposed to. A control in afternoon sun, near a lamp, or in the path of a supply register reads a temperature the rest of the home never sees, which produces cycling that feels random.
Step 2: Airflow
Pull the filter and look at it against a light. Replace it if dust obscures the media — and in Yuma, expect that sooner than the package suggests. Then walk the house: every supply register open, every return grille unobstructed, no furniture or rug covering either. Weak airflow at the vents with a clean filter is worth reporting; it may point to a dirty blower, dirty coil or duct problem.
Step 3: The outdoor unit
With the thermostat calling for cooling, go outside and look — from a safe distance, without opening anything. Is the fan on top spinning? Do you hear the compressor running, or only a hum? Is the cabinet crowded by weeds, gravel, trash, stored items or a sand drift? Is anything covering it? Note what you observe; it is one of the most useful things you can tell a provider.
Step 4: Ice and water
Look for frost or ice on the refrigerant line or around the indoor coil access, and for water in or below the drain pan. If you find ice, turn the system off and let it thaw fully. If you find water, shut the system off to stop producing more condensate and contain it with towels. Both findings are important diagnostic clues.
Step 5: Power and safety switches
Check the electrical panel for a tripped breaker; reset it once. If it trips again, stop and request help — repeated resets are unsafe. Look for a light-switch-style service switch near the indoor unit that may have been turned off. And remember that a condensate safety switch can shut a healthy system down because a drain backed up, which looks exactly like a dead system from the hallway.
Homeowner Check
Technician Check
Emergency Warning
What a provider does next
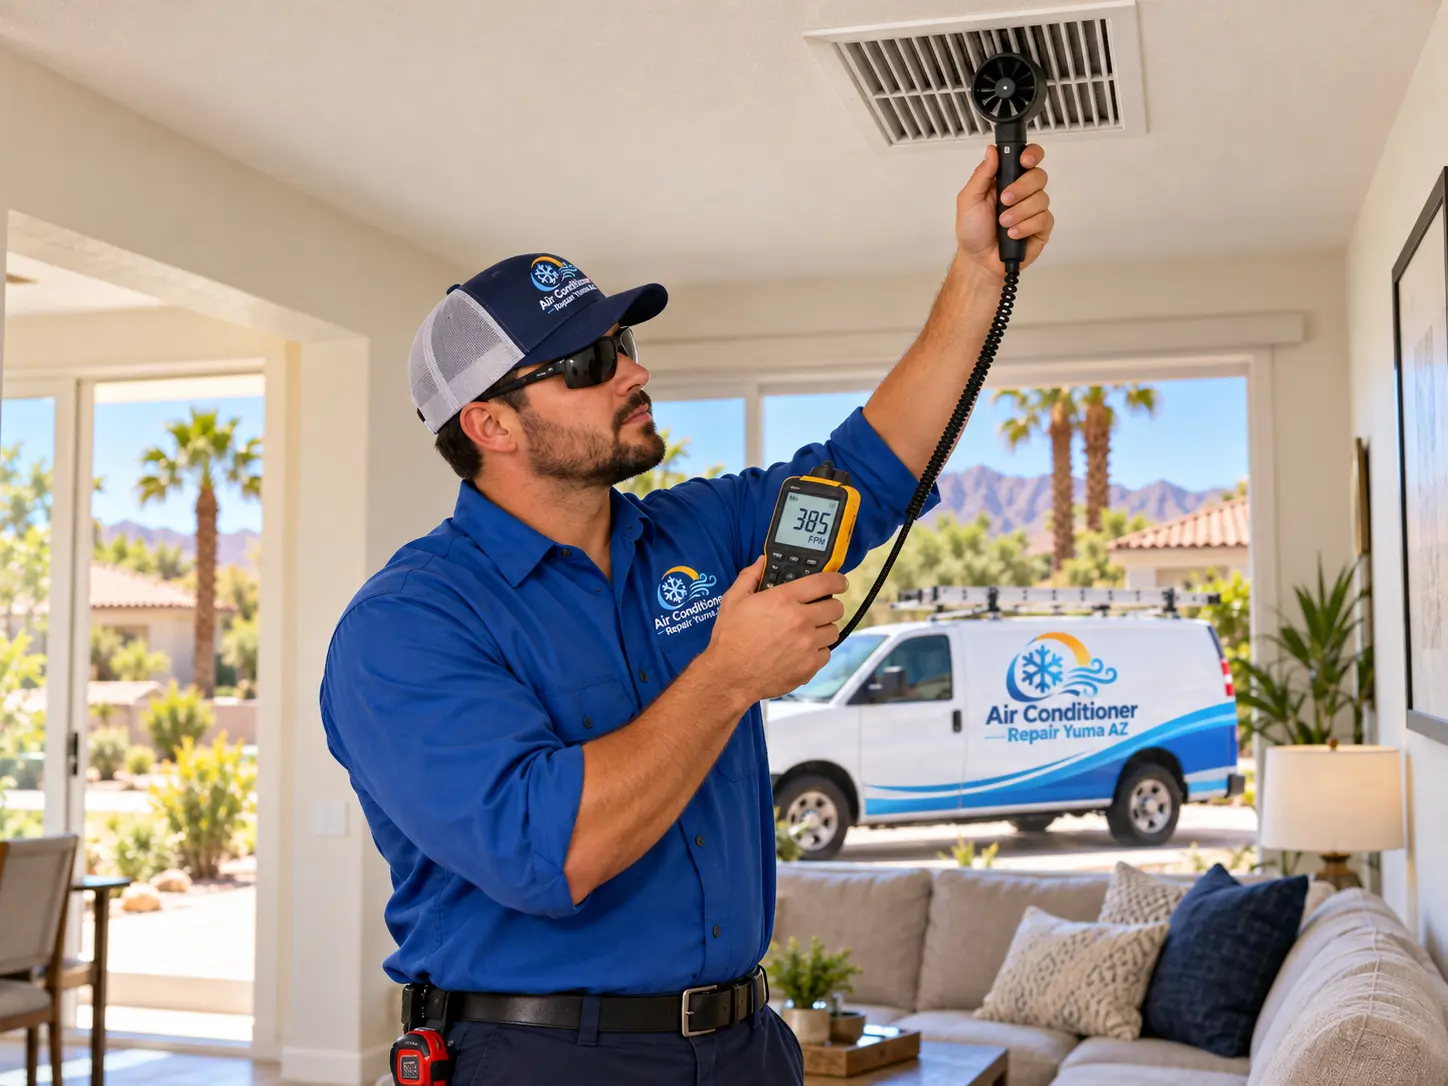
A structured diagnosis generally continues where you stopped: verifying control voltage and equipment power, measuring airflow and static pressure, taking temperature readings across the indoor coil, reading refrigerant pressures and calculating superheat and subcooling, testing electrical components and amp draw, inspecting coils and the blower, and evaluating ducts. Those measurements are what separate an airflow problem from a charge problem from a component failure — three faults that feel identical at the vent.
When you request help, hand over everything you noted. It genuinely shortens the visit.
Troubleshooting FAQs
Questions about safe homeowner checks
What is the first thing to check when cooling stops?
How do I know if the air filter is the problem?
What if I find ice on the coil or refrigerant line?
Should I add refrigerant myself?
How can I tell the difference between a fault and extreme heat?
When should I stop troubleshooting and request help?
24/7 Emergency AC Help Requests
Request help after your safe checks
Call to ask about current availability, or send your request and a participating independent provider may follow up.
Participating provider availability varies by location, demand and technician capacity.